How to Avoid Composite Siding Installation Mistakes: A Technical Editorial
The transition from traditional timber to high-performance composite cladding has fundamentally altered the technical landscape of residential and commercial exteriors. While composites—ranging from fiber cement to engineered wood and poly-ash—promise a fifty-year lifecycle with minimal intervention, these projections are predicated entirely on the precision of the initial installation. How to Avoid Composite Siding Installation Mistakes. The “performance gap” between a manufacturer’s laboratory results and a real-world assembly is almost exclusively filled by the competency of the installation crew and the rigor of the project’s technical oversight.
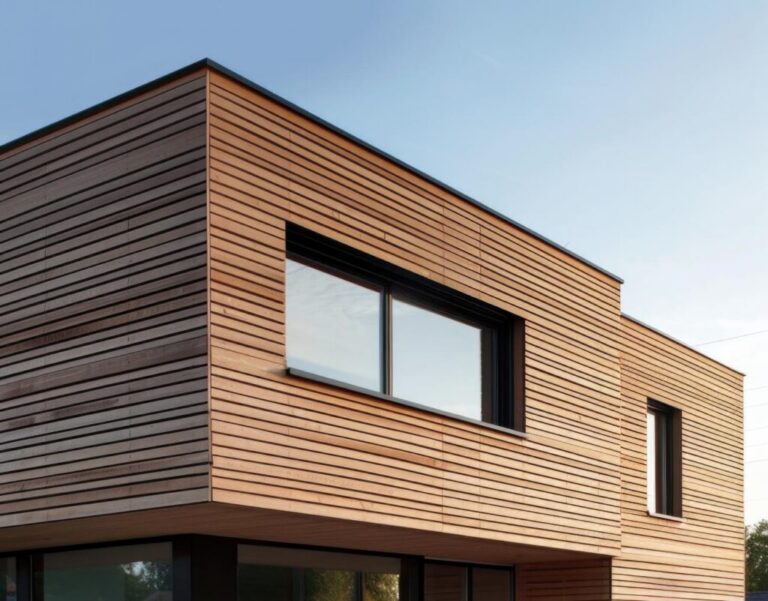
In the contemporary building environment, siding is no longer viewed as a merely decorative “skin.” It is the outermost component of a sophisticated hydrothermal management system. This system must simultaneously resist bulk water intrusion, manage solar heat gain, and allow for the outward migration of interior water vapor. When errors occur during the fastening or flashing phases, they do not remain localized. Instead, they trigger a cascade of systemic failures—mold growth in the wall cavity, rot in the structural sheathing, and the eventual delamination of the composite material itself.
A nuanced approach to the exterior envelope requires moving beyond the “installation manual” toward a deeper understanding of material behavior. Every composite material has a unique coefficient of expansion and a specific moisture-absorption profile. Failing to account for these physical realities during the planning phase is the primary driver of premature cladding failure. This analysis serves as a definitive reference for achieving an uncompromising standard of installation quality, ensuring that the building remains a resilient asset for decades.
Understanding “how to avoid composite siding installation mistakes”
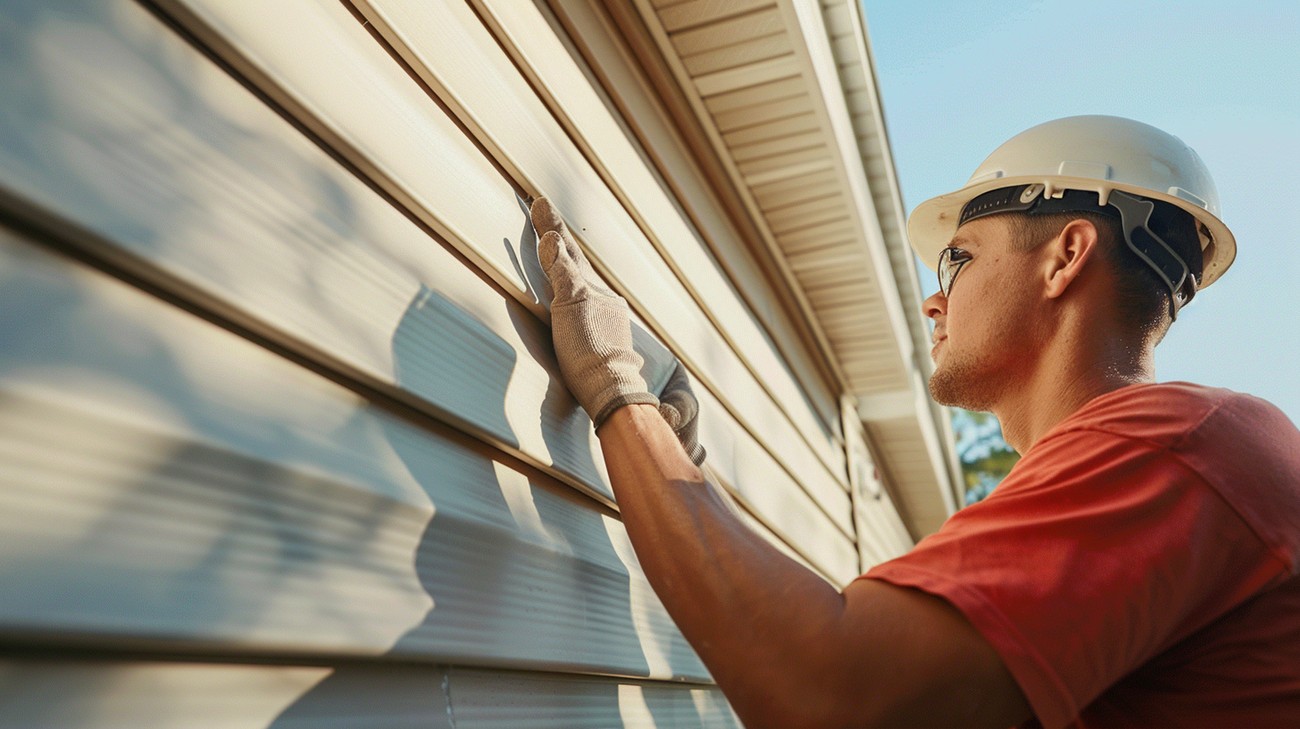
Mastering how to avoid composite siding installation mistakes necessitates a departure from the “speed-first” culture that dominates modern residential construction. In a professional editorial context, the most significant errors are rarely the result of a lack of effort; rather, they stem from a fundamental misunderstanding of the physics of the material. A common oversimplification is the belief that because a material is “synthetic” or “composite,” it is impervious to the laws of nature. This assumption leads installers to ignore critical clearance requirements or to use fastening schedules that do not accommodate thermal movement.
From a multi-perspective viewpoint, avoiding these errors requires coordination between the architect, the material distributor, and the site supervisor. For example, a mistake in the window flashing is often categorized as a “siding error,” but it may actually be a failure of the framing crew to provide a planar surface or the architect’s failure to specify a compatible sealant. To truly mitigate risk, one must view the installation as a series of interconnected sequences where the quality of one layer (the weather-resistive barrier) dictates the success of the next (the cladding).
The risk of oversimplification is highest during the “detailing” phase. Standardizing a corner detail across a 5,000-square-foot project without accounting for the varying wind pressures or solar exposures on different elevations is a tactical error. A high-authority plan for avoiding mistakes prioritizes site-specific adjustments. This includes varying the gap widths at butt joints based on the ambient temperature during installation and ensuring that “kick-out” flashing is customized to the specific pitch of the intersecting rooflines.
Deep Contextual Background
The history of exterior cladding is a narrative of increasing complexity. For centuries, the “standard of care” was set by old-growth cedar and redwood, which were naturally forgiving of minor installation errors due to their high tannin content and cellular stability. As the industry moved toward second-growth wood and eventually toward vinyl in the mid-20th century, the tolerance for error decreased. Vinyl introduced the concept of the “floating” fastener, but it lacked the structural heft to serve as a high-end architectural finish.
The emergence of fiber-cement and engineered wood in the late 1980s and 1990s represented a paradigm shift. These materials offered the aesthetic of wood with the durability of masonry. However, early adopters were plagued by failures—not because the materials were flawed, but because the installation techniques used for traditional wood were inappropriately applied to these new, denser products. Modern composites have refined their chemistry, but the fundamental challenge remains: they are technical products that require technical execution. Understanding this evolution is the first step in recognizing why “old school” methods often lead to modern failures.
Conceptual Frameworks and Mental Models
To navigate the intricacies of a cladding project, several mental models can be applied to evaluate risk and ensure quality.
1. The “Zonal Defense” Model
This framework treats the exterior wall as a series of zones, each with a specific duty.
-
Zone 1 (The Face): Sheds 95% of water.
-
Zone 2 (The Gap): Provides drainage and airflow (the rainscreen).
-
Zone 3 (The WRB): The final line of defense against moisture.
-
Limit: This model requires more depth in the wall assembly, which may not be compatible with existing window and door trim depths.
2. The Coefficient of Thermal Expansion (CTE) Logic
This model assumes the siding is a “living” organism that grows and shrinks every 24 hours.
-
Limit: Over-estimating movement can lead to excessively large gaps that compromise the aesthetic and allow for excessive wind-driven rain behind the cladding.
3. The “First-Water” Principle
This dictates that the first drop of water hitting the top of the house must have a clear, unblocked path all the way to the ground without ever entering the wall cavity.
-
Limit: Often fails at penetrations like light fixtures or dryer vents if not strictly enforced.
Key Categories and Technical Trade-offs
A core strategy in how to avoid composite siding installation mistakes is selecting the material that matches the crew’s skillset and the climate’s demands.
| Material | Primary Component | Movement Risk | Sensitivity to Moisture |
| Fiber Cement | Cement/Cellulose | Shrinkage-dominant | High (at cut edges) |
| Engineered Wood | Wood strands/Resin | Expansion-dominant | High (if unsealed) |
| Cellular PVC | High-density PVC | High Thermal Expansion | Low (Inorganic) |
| Poly-Ash | Fly ash/Polymer | Very Low | Very Low |
| Fiberglass | Glass fiber/Resin | Minimal | None |
Realistic Decision Logic
-
High-Moisture Environments: Prioritize inorganic composites like poly-ash or cellular PVC to eliminate rot risk, even if flashing is slightly imperfect.
-
High-Fire Zones: Fiber cement remains the gold standard but requires meticulous dust management and specialized cutters.
-
Complex Architectural Profiles: Engineered wood is more workable and less prone to breakage during the intricate cutting required for modern designs.
Detailed Real-World Scenarios How to Avoid Composite Siding Installation Mistakes
Scenario A: The Summer “Tight-Joint” Error
In July, a crew installs engineered wood siding with “butt joints” touching tightly.
-
The Error: Failing to account for the material being at its maximum expansion.
-
The Result: In winter, the boards shrink, leaving 1/4-inch gaps that expose the house wrap to UV degradation and water intrusion.
-
Strategy: Use spacing gauges that correlate with the current ambient temperature.
Scenario B: The “Over-Driven” Fastener
A crew uses a standard framing nailer with the pressure set too high.
-
The Error: The nail head sinks 1/8-inch into the fiber-cement board.
-
The Result: The board’s structural integrity is compromised, and the “cup” created by the nail head traps water, leading to localized freeze-thaw damage.
-
Strategy: Use siding-specific nailers with flush-drive attachments.
Scenario C: The Grade-Clearance Failure
Siding is installed within 1 inch of a mulch bed or concrete patio.
-
The Error: Ignoring the 6-inch (soil) or 2-inch (hardscape) clearance rule.
-
The Result: “Wicking” occurs, where the material sucks up moisture, leading to paint failure and “mushrooming” of the board edges.
Planning, Cost, and Resource Dynamics
Economic planning for a high-quality installation must account for the “quality premium.” Attempting to lower the bid often results in cutting corners on the support materials that prevent failure.
Cost Spectrum of Support Materials (Per Square / 100 Sq. Ft.)
| Resource | Budget Grade | High-Performance Grade | Impact of Failure |
| House Wrap | $20 (Perforated) | $120 (Drainable/Liquid) | High (Systemic Rot) |
| Fasteners | $15 (Galvanized) | $60 (Stainless Steel) | Moderate (Bleeding/Rust) |
| Sealant | $5 (Latex) | $15 (High-Polymer/Hybrid) | High (Localized Leakage) |
| Flashing | $10 (Plastic) | $40 (Prefabricated Metal) | Very High (Catastrophic) |
Tools, Strategies, and Support Systems
The infrastructure of the install determines the success of the outcome. Professionals use specific tools to mitigate human error.
-
Pneumatic Depth Adjusters: Ensures every nail is flush, never recessed.
-
Geographic Spacing Gauges: Specific tools used to maintain 1/8-inch or 3/16-inch gaps consistently.
-
HEPA-Filtered Saws: Critical for fiber cement to prevent silica dust from coating the siding’s adhesive surfaces.
-
End-Cut Sealer: A dedicated station for sealing every cut edge before it goes on the wall.
-
Kick-out Flashing Jigs: Ensures the most vulnerable roof-to-wall transitions are waterproofed correctly.
-
Laser Levels: Essential for maintaining perfectly horizontal lines across long spans, which prevents “stepped” joints.
Risk Landscape and Failure Modes
The risks in composite installation are often “delayed-onset.” A project can look perfect at the final walkthrough but be structurally failing within three years.
-
Capillary Action: Moisture being pulled upward through tight joints.
-
Galvanic Corrosion: Mixing aluminum flashing with cementitious boards (which are alkaline), leading to the disintegration of the flashing.
-
Vapor Drive Inversion: In hot, humid climates, moisture is driven from the outside toward the cool interior. If the siding is not vented, this moisture condenses behind the board.
-
Fastener Withdrawal: Using smooth-shank nails instead of ring-shank nails, leading to the siding “pulling away” as the house settles.
Governance, Maintenance, and Long-Term Adaptation
The work of avoiding mistakes continues after the crew leaves. A governance model ensures the system continues to function as designed.
Adaptive Checklist
-
Year 1: Inspect all sealant joints. Movement during the first four seasons is the most aggressive.
-
Year 3: Check for “chalking” or finish degradation on the south-facing elevations.
-
Continuous: Ensure that landscaping (trees/bushes) is not touching the siding, which prevents airflow and creates localized “wet zones.”
Measurement, Tracking, and Evaluation
How do we quantify a “perfect” installation?
-
Leading Indicators: Use of a rainscreen, stainless fasteners, and documented 100% edge-sealing.
-
Lagging Indicators: Absence of “musty” smells inside the wall, zero paint peeling, and no visible buckling after 24 months.
Documentation Examples
-
Fastener Map: A photo log showing the nail spacing on every wall.
-
Sealant Log: Documentation of which hybrid-polymer sealants were used at each window.
-
Moisture Readings: A log of the sheathing’s moisture content (should be <16%) before the siding was applied.
Common Misconceptions and Oversimplifications
-
Myth: Caulk is a substitute for flashing. Reality: Caulk is a temporary bridge; flashing is a permanent mechanical shedder.
-
Myth: Composite siding is waterproof. Reality: It is water-resistant. The wall assembly must be designed to get wet and dry out.
-
Myth: Blind-nailing is always better. Reality: In high-wind zones, “face-nailing” (done correctly) provides the necessary uplift resistance.
-
Myth: You don’t need a rainscreen if you use a high-end house wrap. Reality: A rainscreen provides the physical space for drainage that a house wrap cannot, regardless of its “perm” rating.
Ethical and Practical Considerations
From an ethical perspective, avoiding installation mistakes is an act of sustainability. The carbon footprint of producing composite materials is significant. When an installation fails in ten years due to a lack of flashing, the environmental “cost” of the material is doubled as it enters a landfill and must be replaced. Practically, the labor to fix a mistake is always 3x the cost of doing it correctly the first time.
Conclusion
Mastering how to avoid composite siding installation mistakes is ultimately an exercise in intellectual and professional rigor. It requires the builder to respect the material’s physical limits and the homeowner to value the hidden engineering behind the cladding. As weather patterns become more extreme, the “margin for error” in the building envelope continues to shrink. Success is found in the invisible details—the sealed edge, the 1/8-inch gap, and the integrated flashing. These are the marks of a project that is built not just for today’s aesthetics, but for the resilience required of a long-term asset.